New Accounts
Comprehensive Guide to Creating New Customer Accounts in the GENOVA APPLICATION.
This guide provides a step-by-step walkthrough of the process for creating new customer accounts within the GENOVA system. Each step includes screenshots to aid navigation and ensure accurate completion of the process. Follow these instructions carefully to successfully onboard new customers.
1
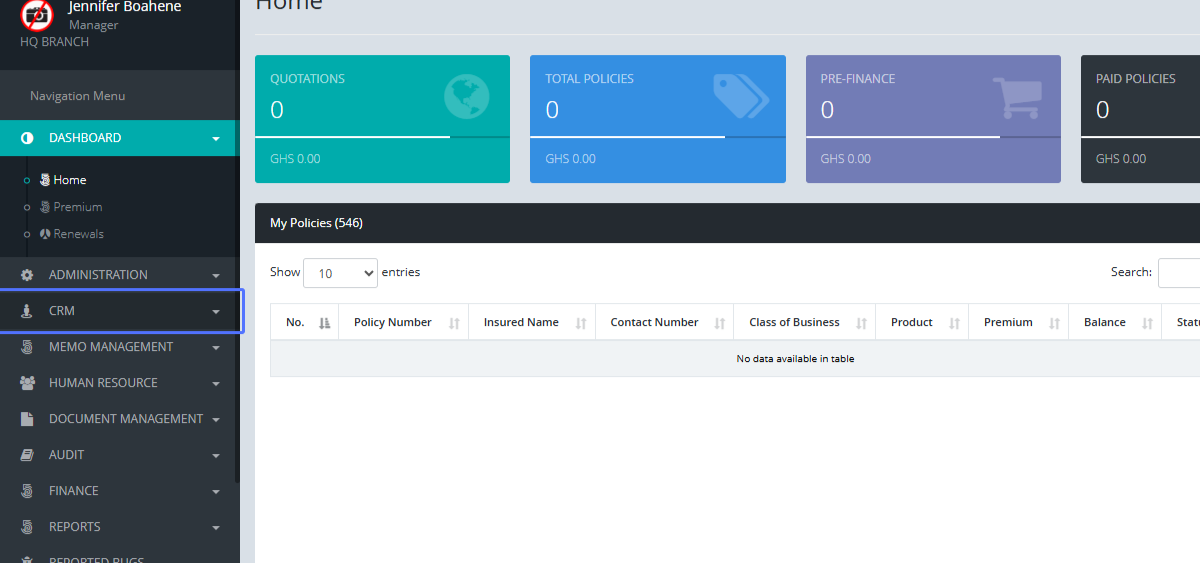
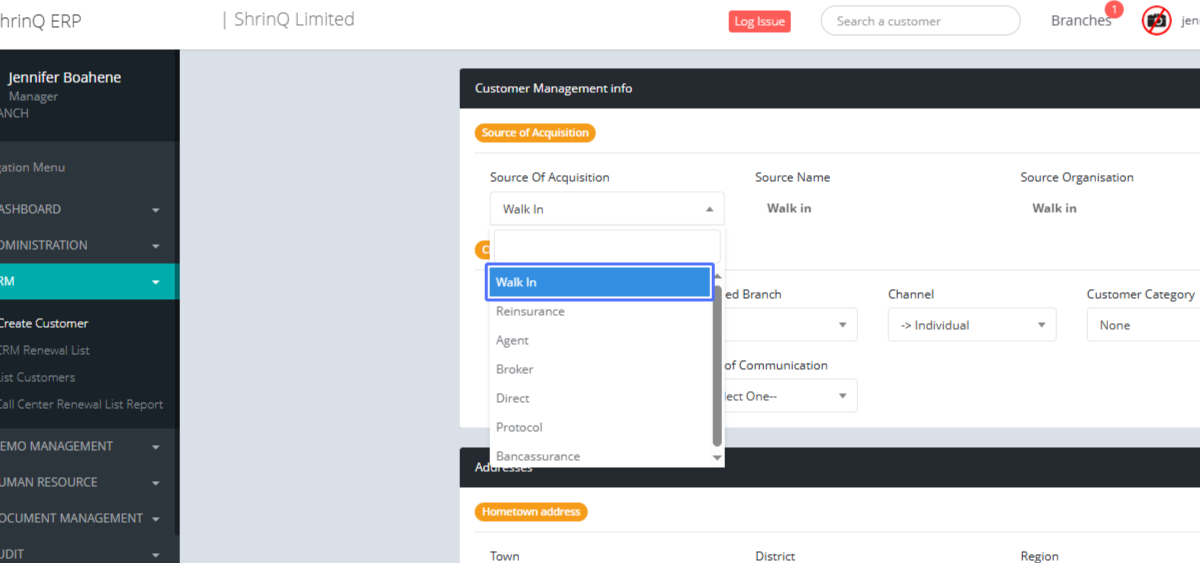
Accessing the CRM Module (Screenshot showing the CRM module selection in the main menu)
Start url
https://erp.shrinqghana.com//cia/home
Tab Name: Home - GENOVA INSURANCE
2
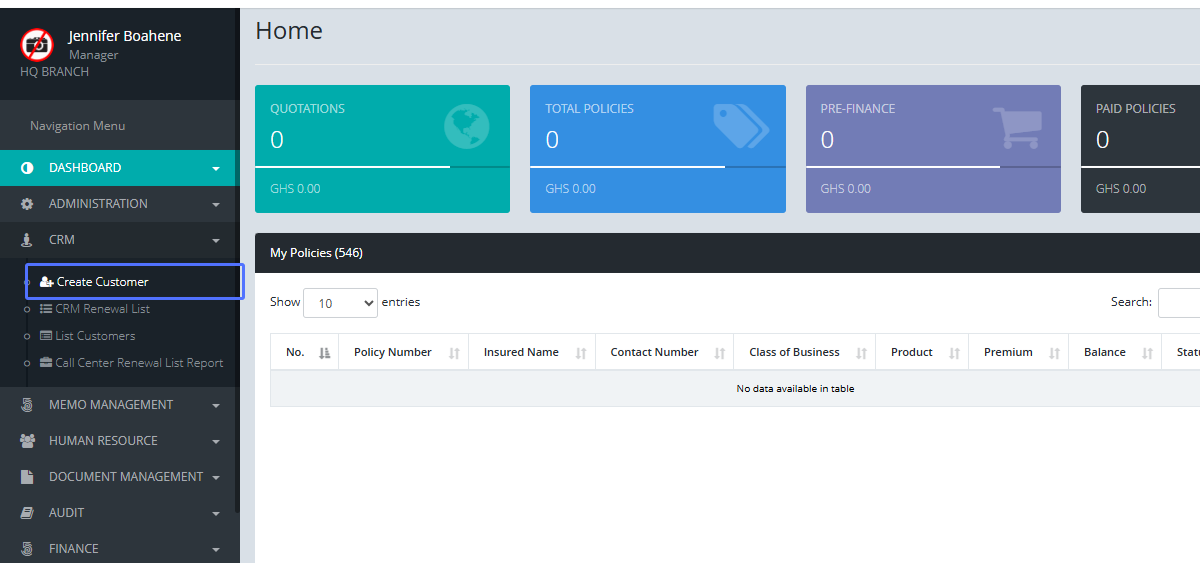
Navigating to the "Create Customer" Page (Screenshot showing the "Create Customer" link within the CRM module)
3
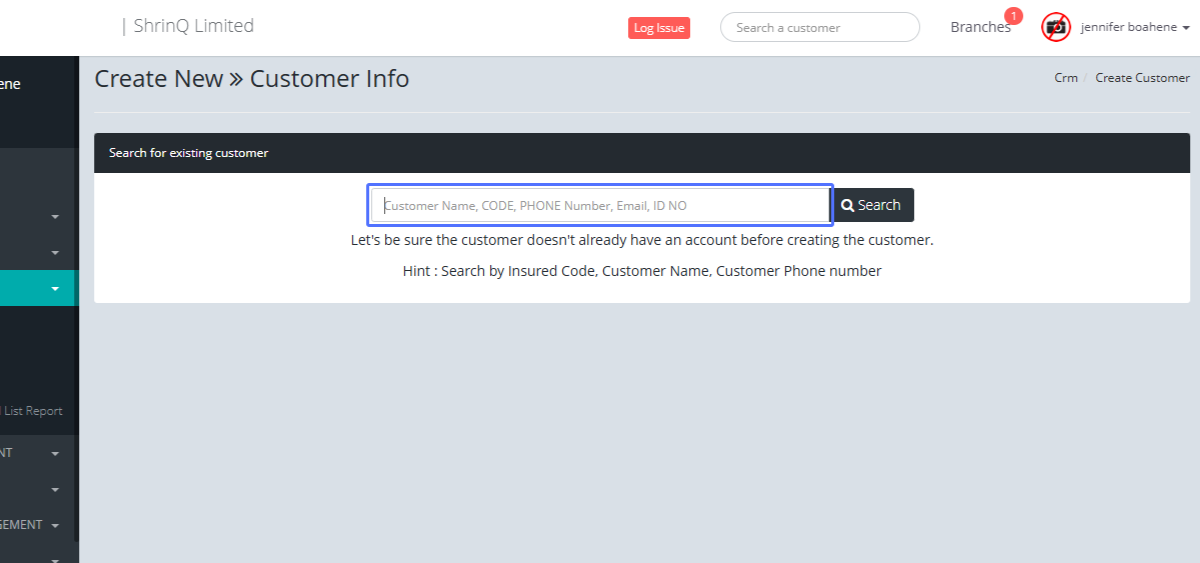
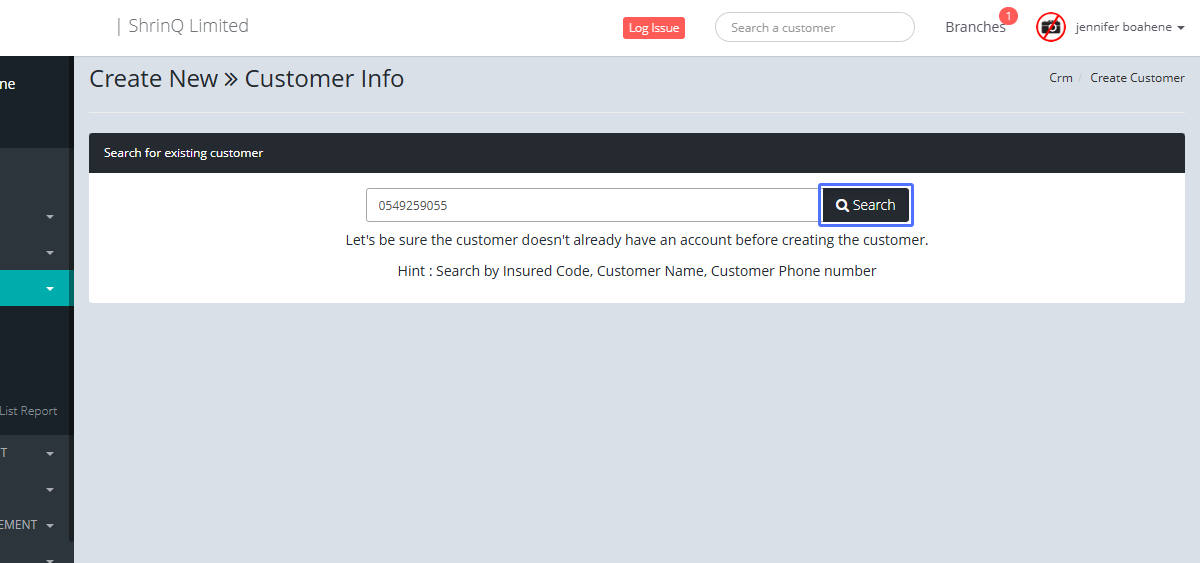
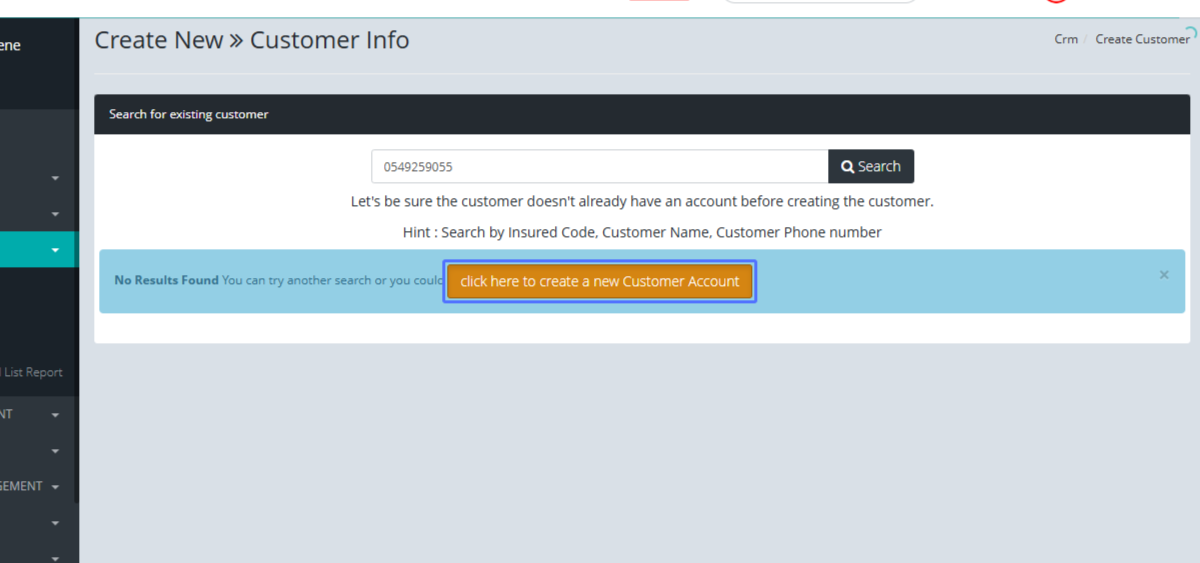
Searching for Existing Customers (or skipping if none found) (Screenshot showing the customer search bar and the "Create New Customer Account" button if search yields no results)
Tab Name: Create Customer - GENOVA INSURANCE
4
Initiating New Customer Account Creation (Screenshot of the button to create new customer)
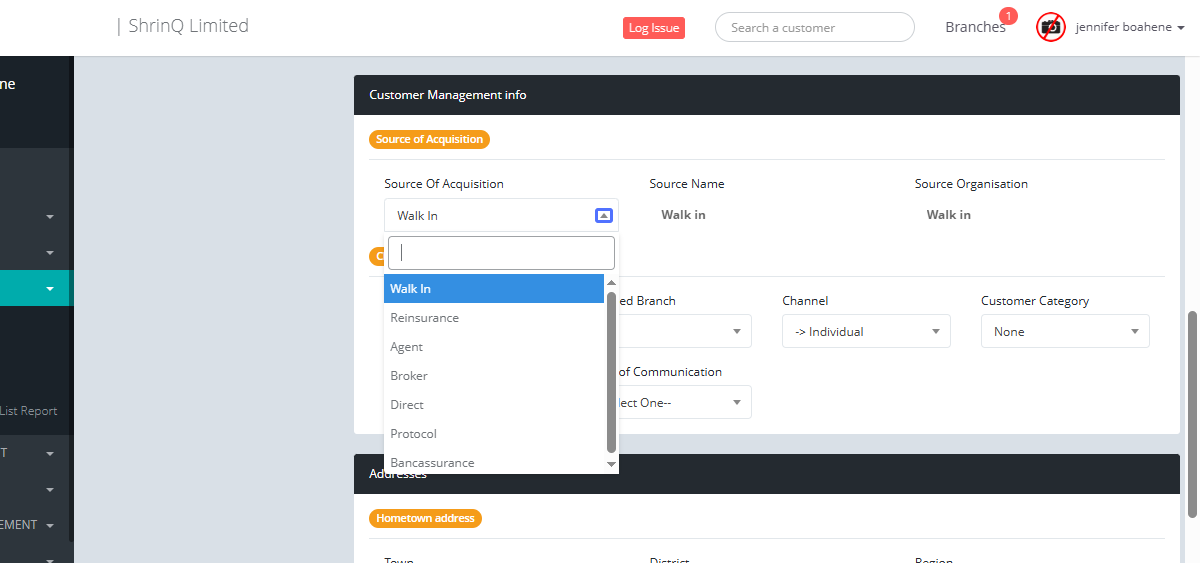
5
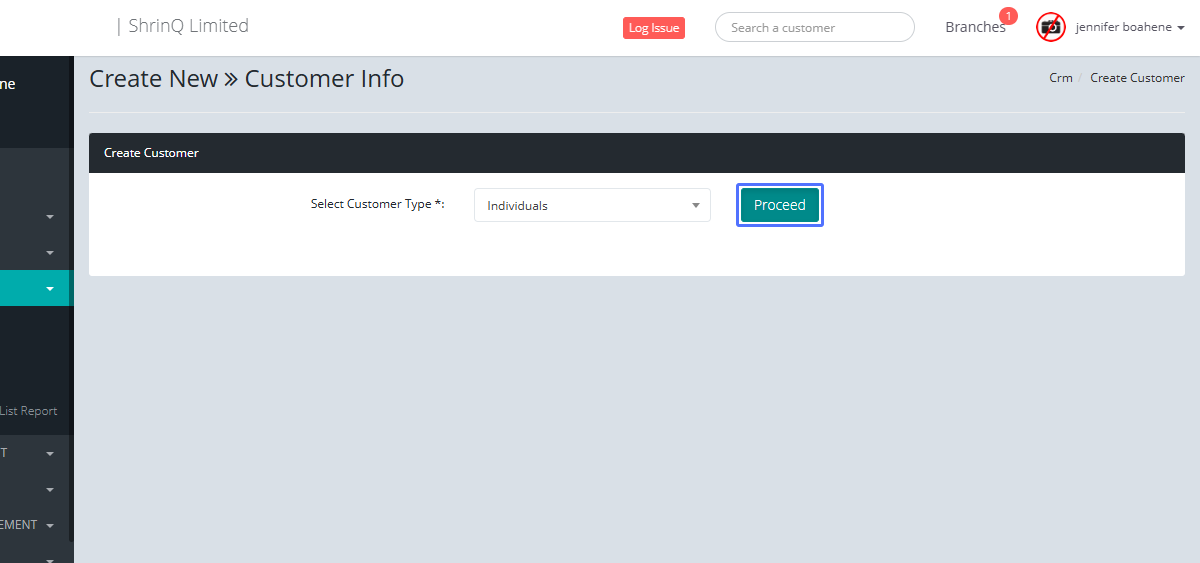
Selecting Customer Type (Screenshot of the Customer Type selection dropdown and the button to proceed after selection)
6
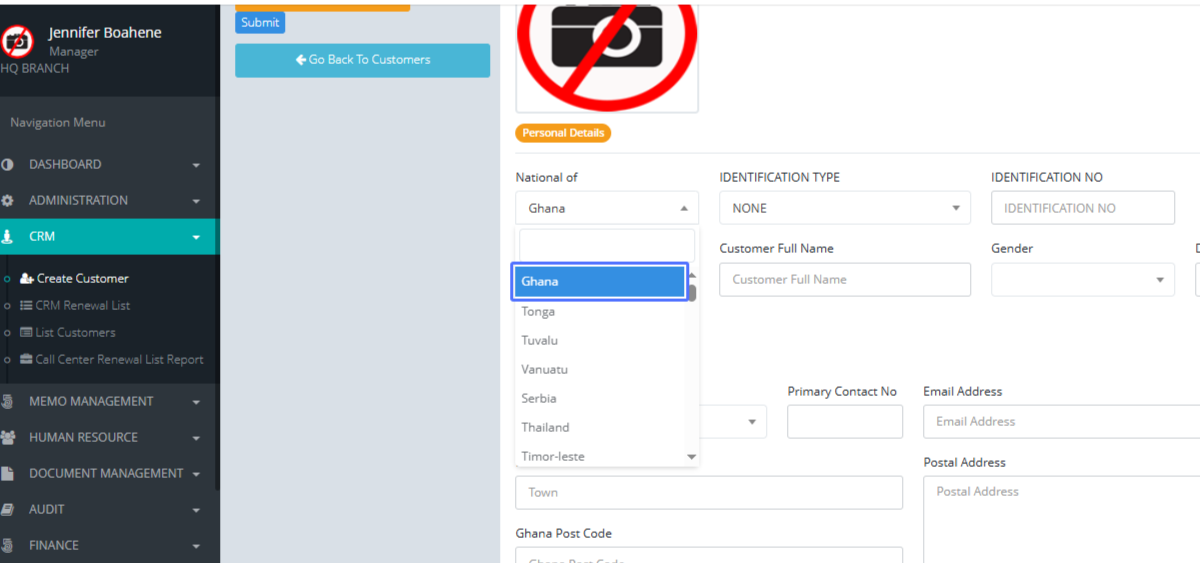
Proceeding to Customer Details (Screenshot of the next page after selecting customer type)

7
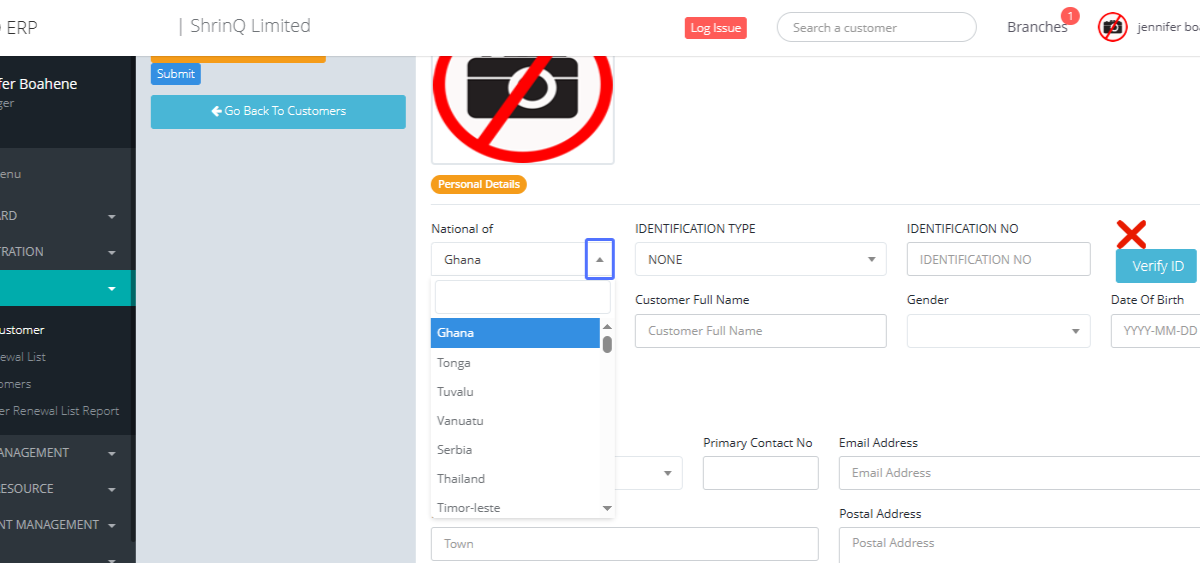
Confirming Category Selection (Screenshot of the "Proceed" button after Nationality selection)
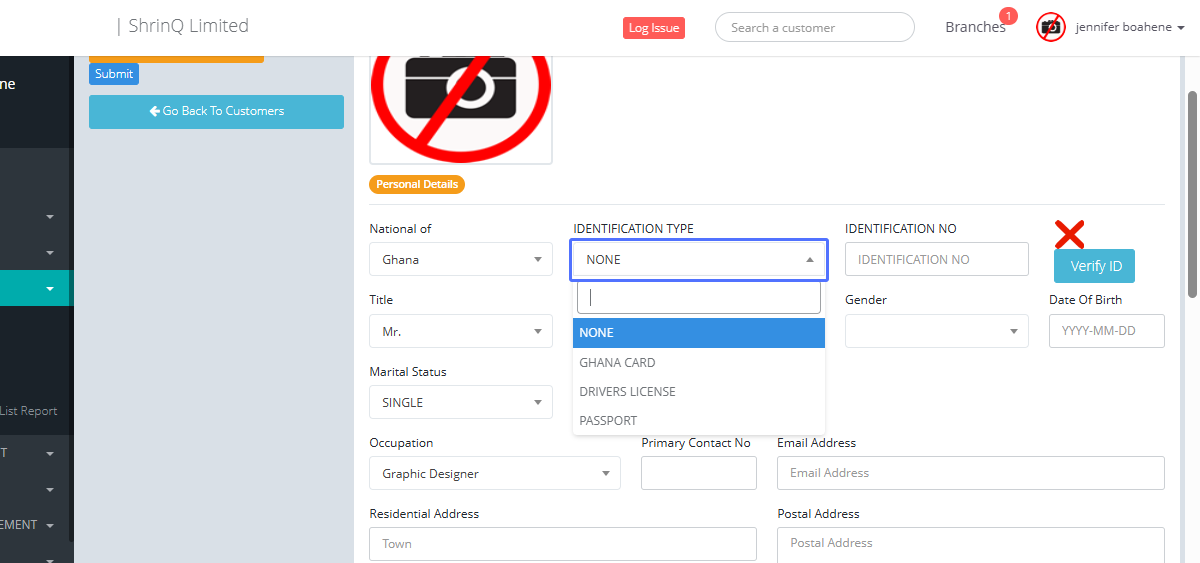
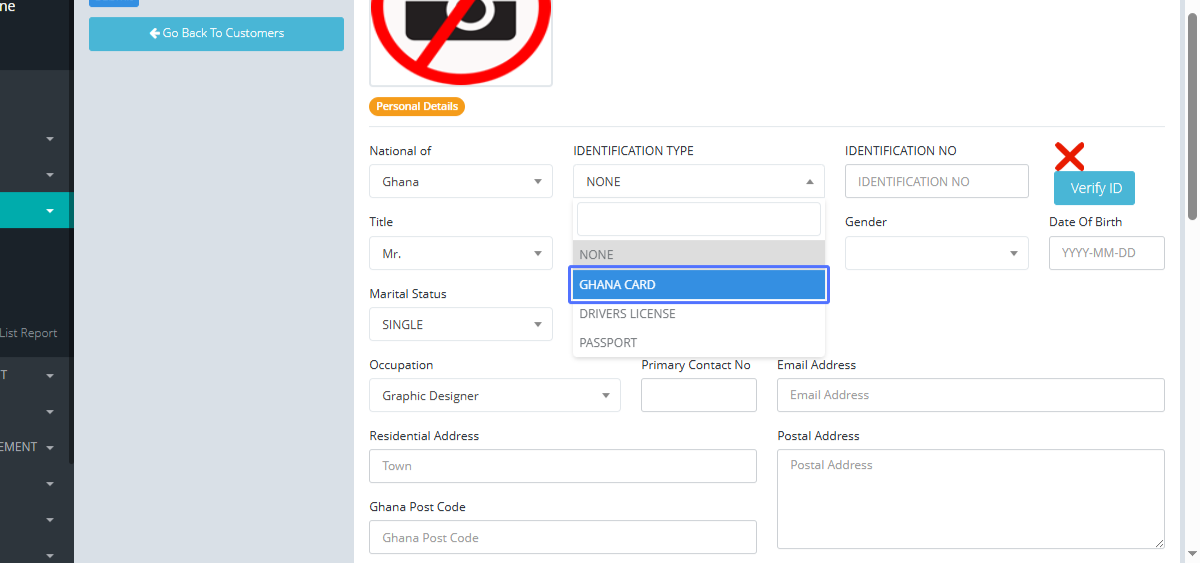
8
Selecting Identification Type (Screenshot of the Identification Type selection dropdown)
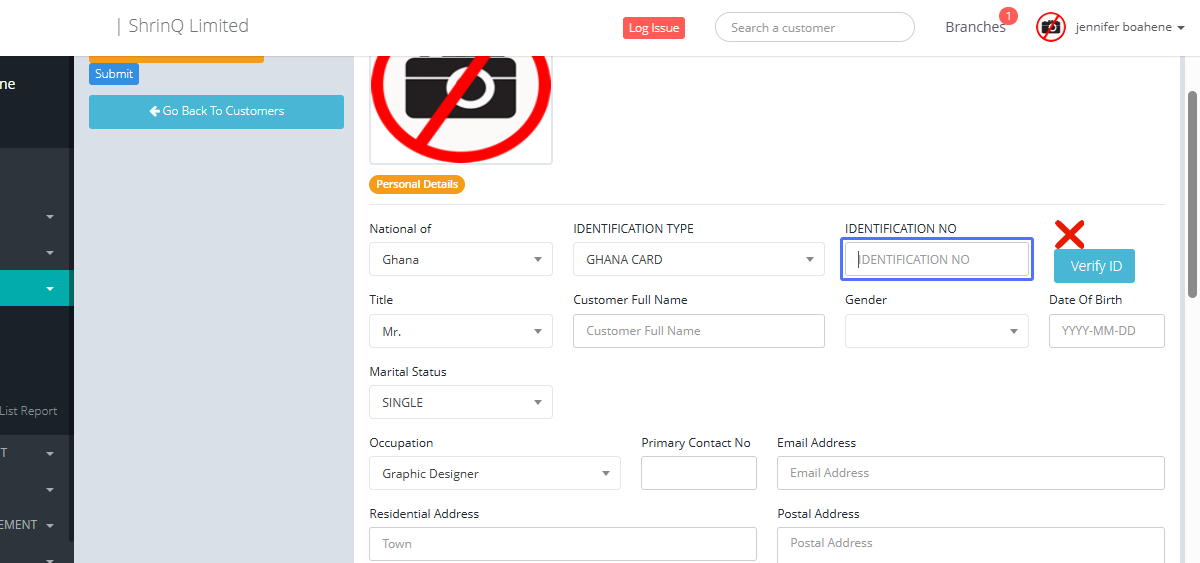
9
Specifying Identification Details (Screenshot of the Identification Details input field)
10
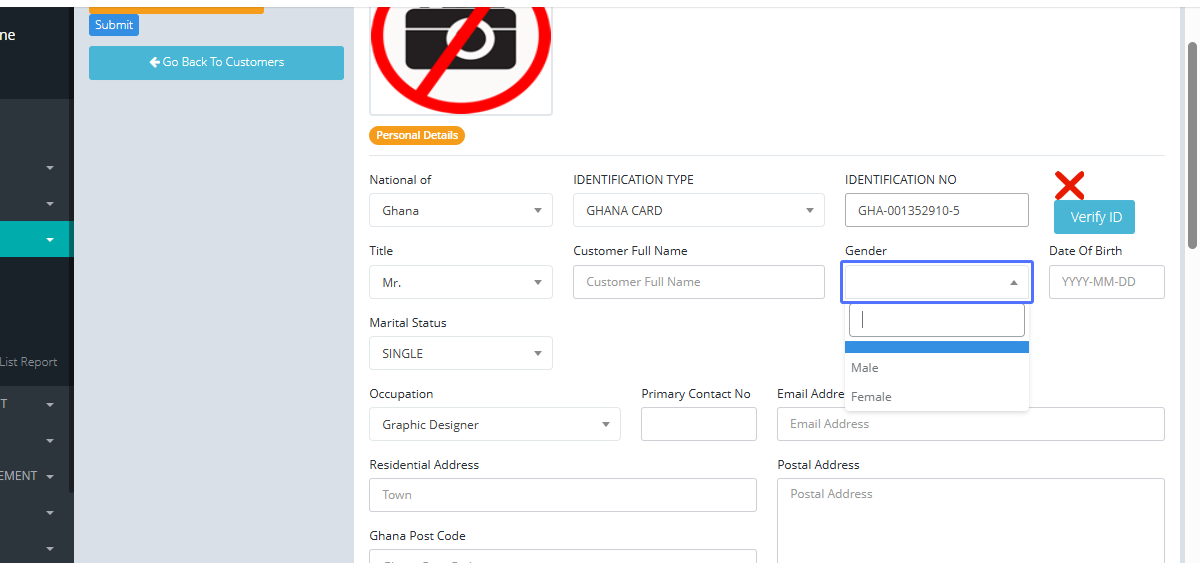
Entering Customer Details (Screenshot of Customer Name, Date of Birth, and Gender input fields)
11
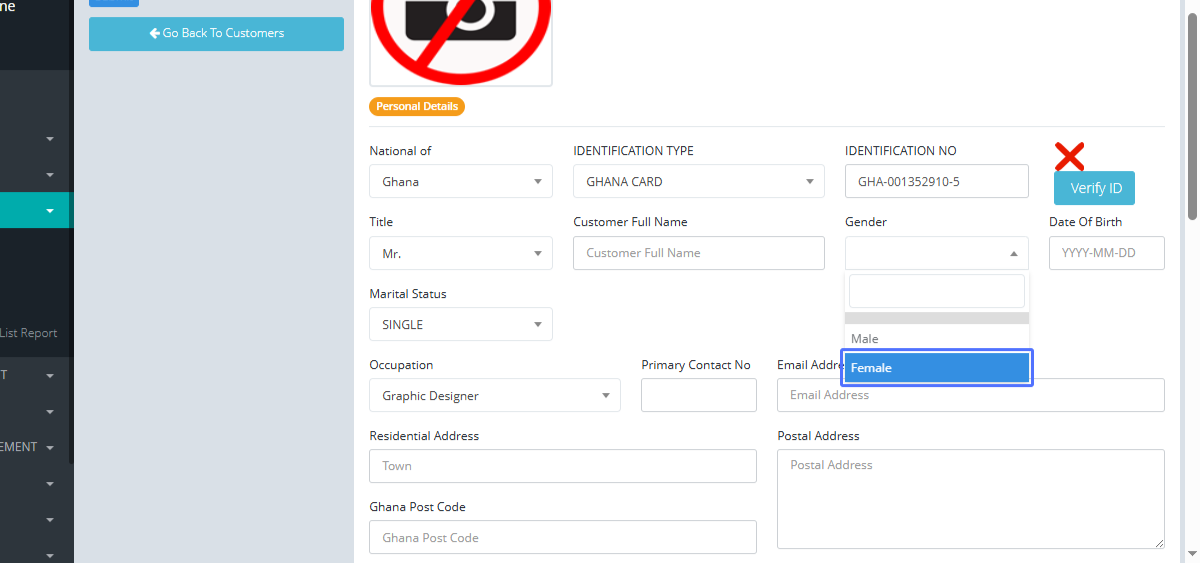
Selecting Gender (Screenshot of the Gender selection dropdown)
12
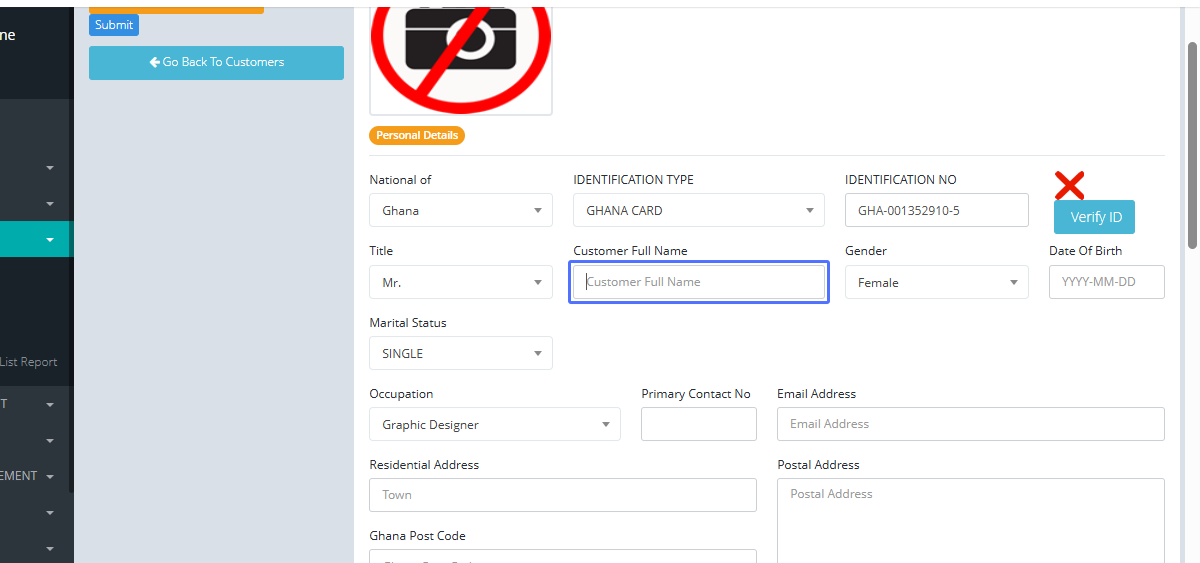
Entering Customer Full Name (Screenshot of the Customer Full Name input field)
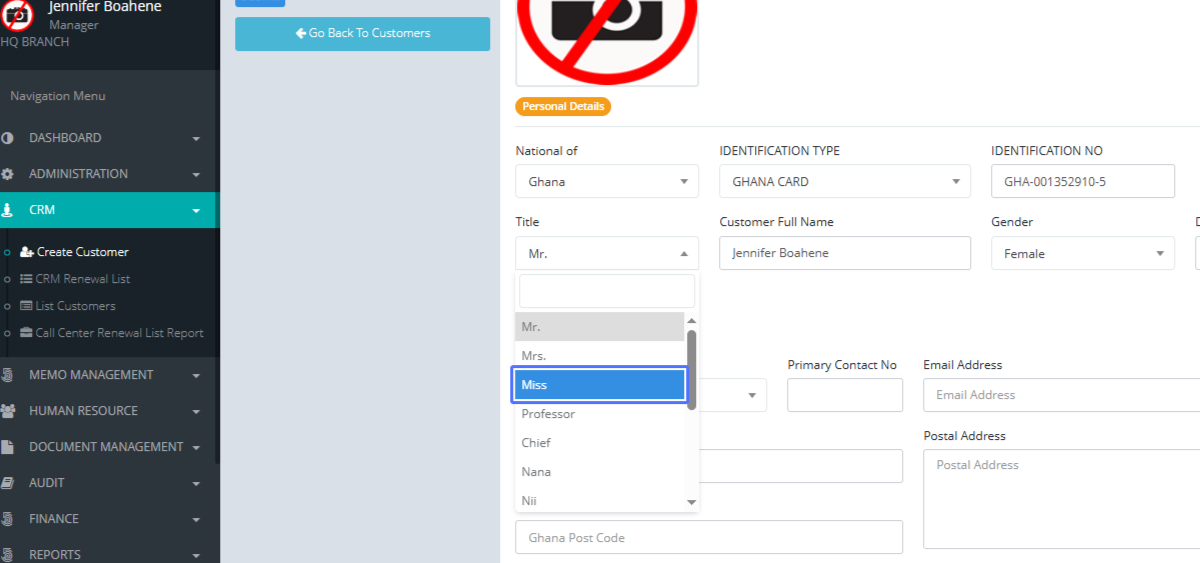
13
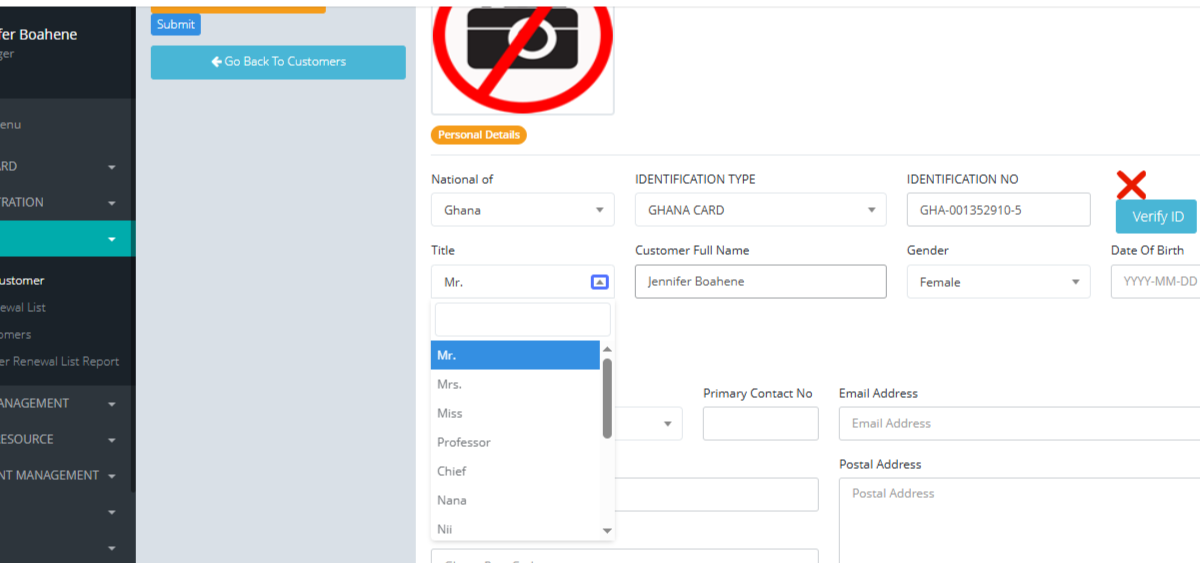
Selecting Title (Screenshot of the Title selection dropdown)
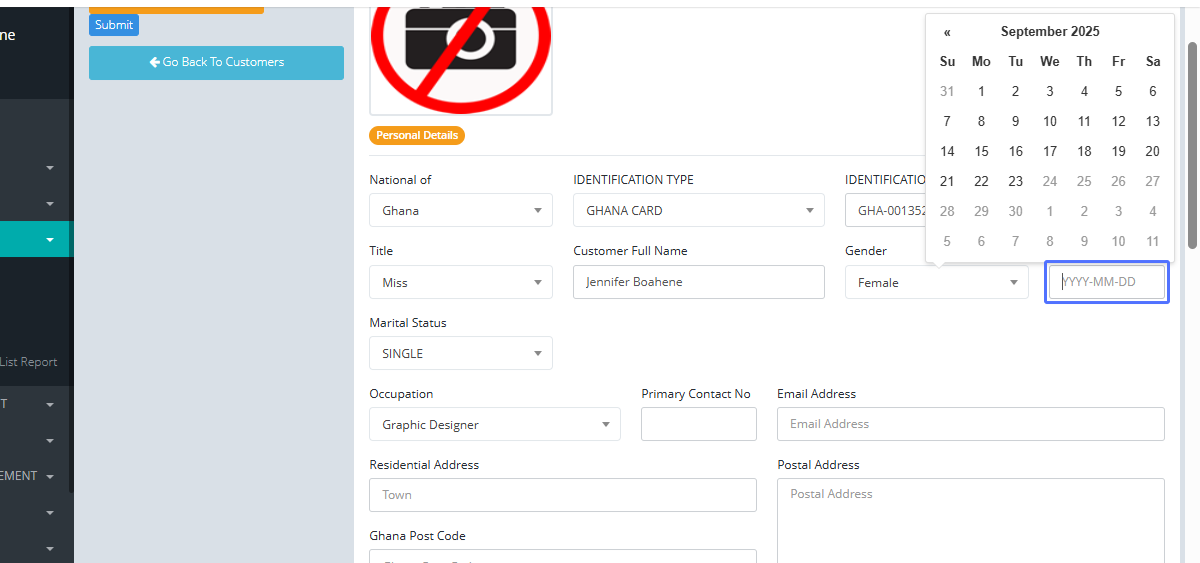
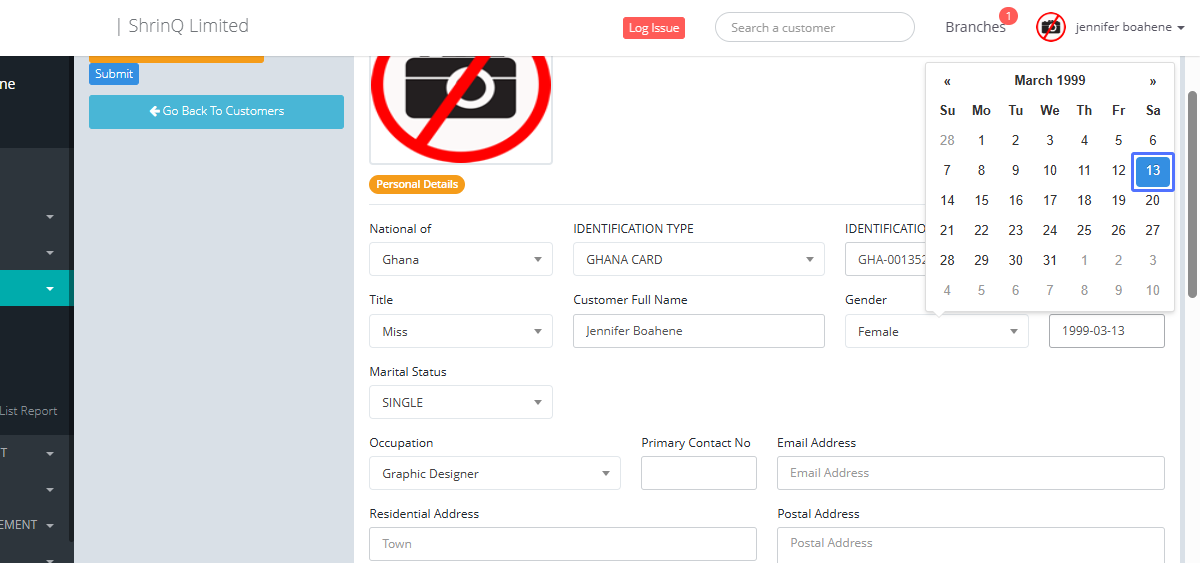
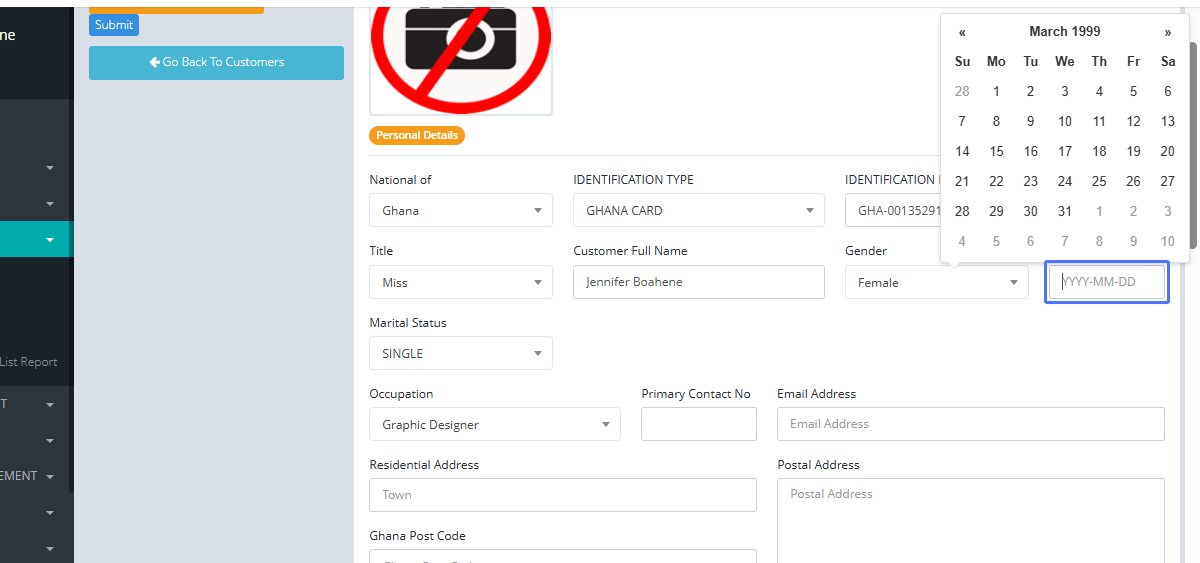
14
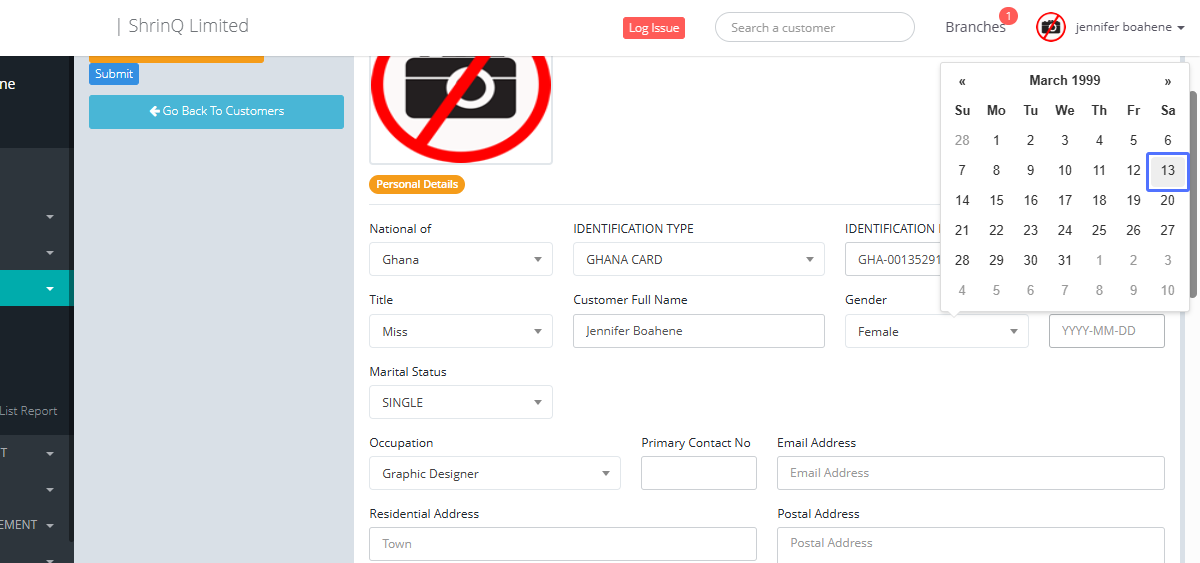
Entering Date of Birth (Screenshot of the Date of Birth input field)
15
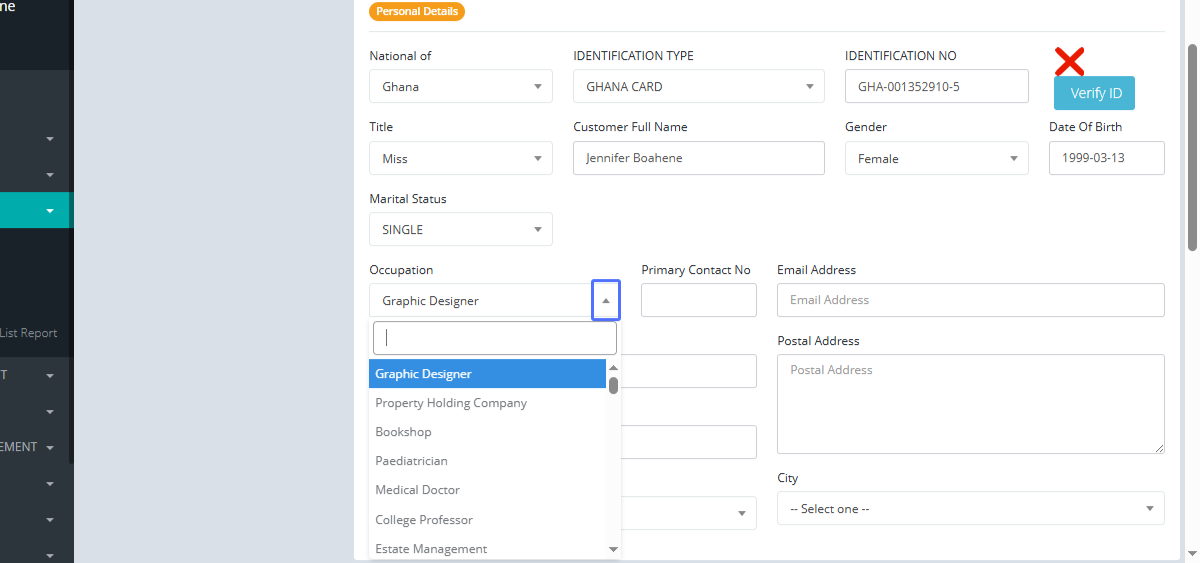
Selecting Profession (Screenshot of the Profession selection dropdown)
16
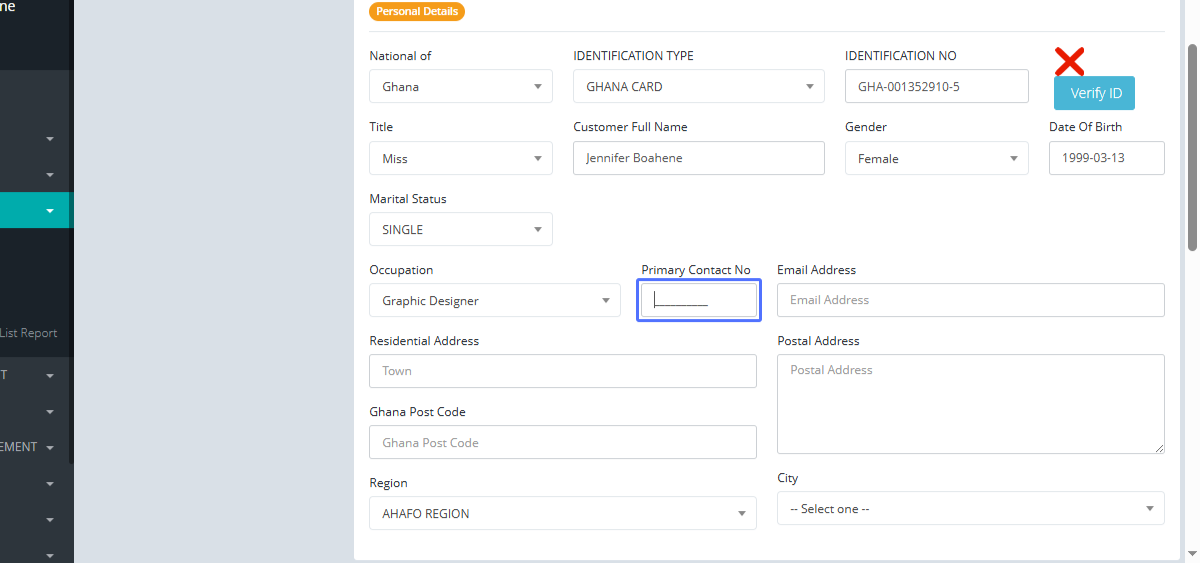
Entering Primary Contact Number (Screenshot of the Primary Contact Number input field)
17
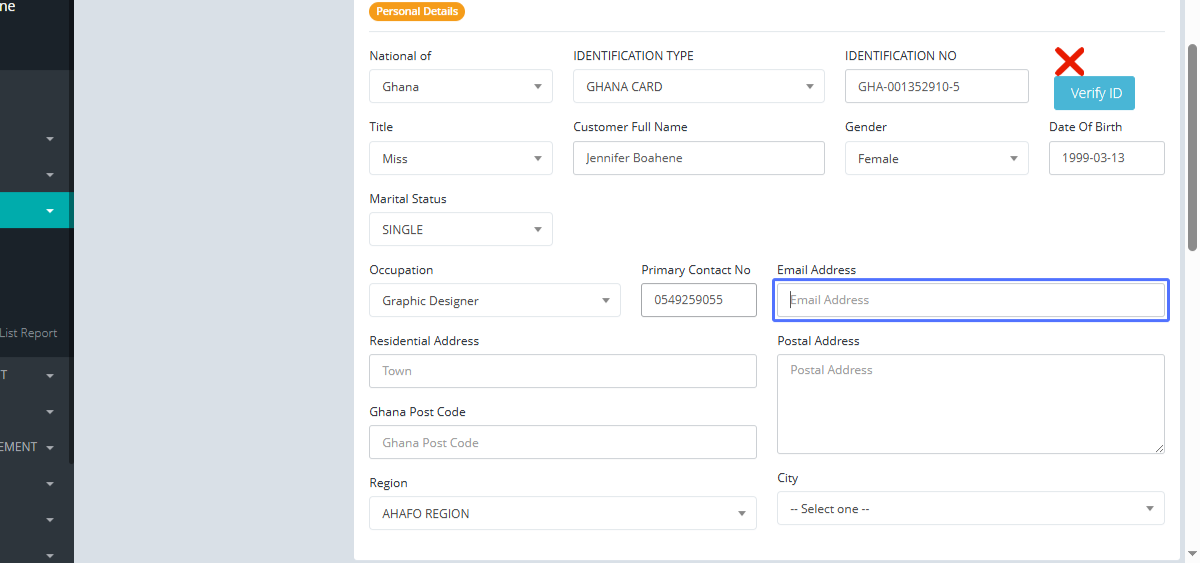
Entering Email Address (Screenshot of the Email Address input field)
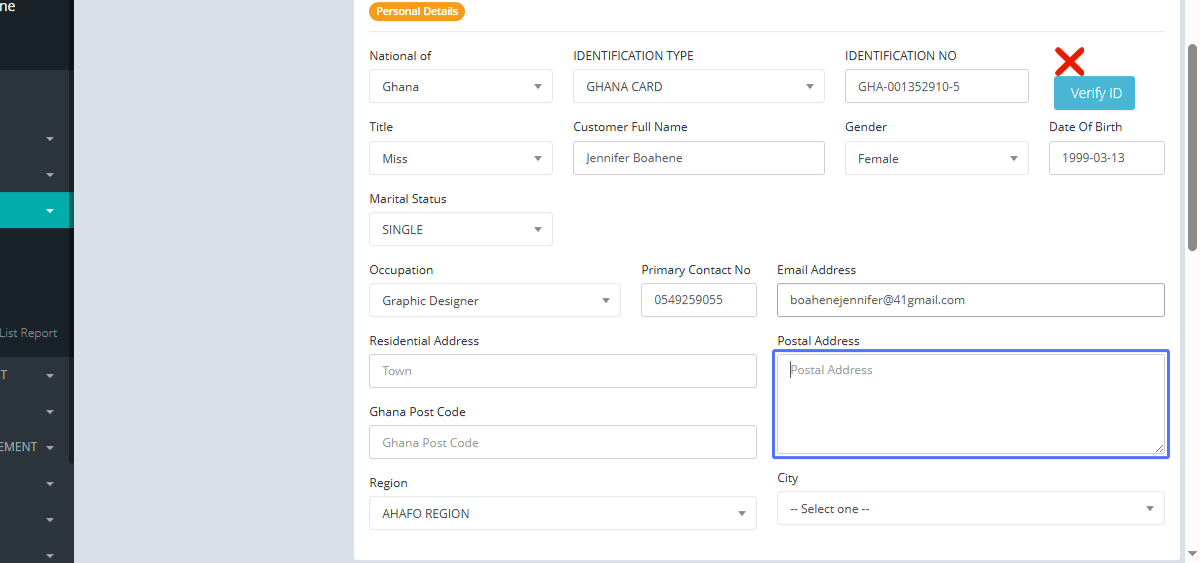
18
Entering Postal Address (Screenshot of the Postal Address input field)
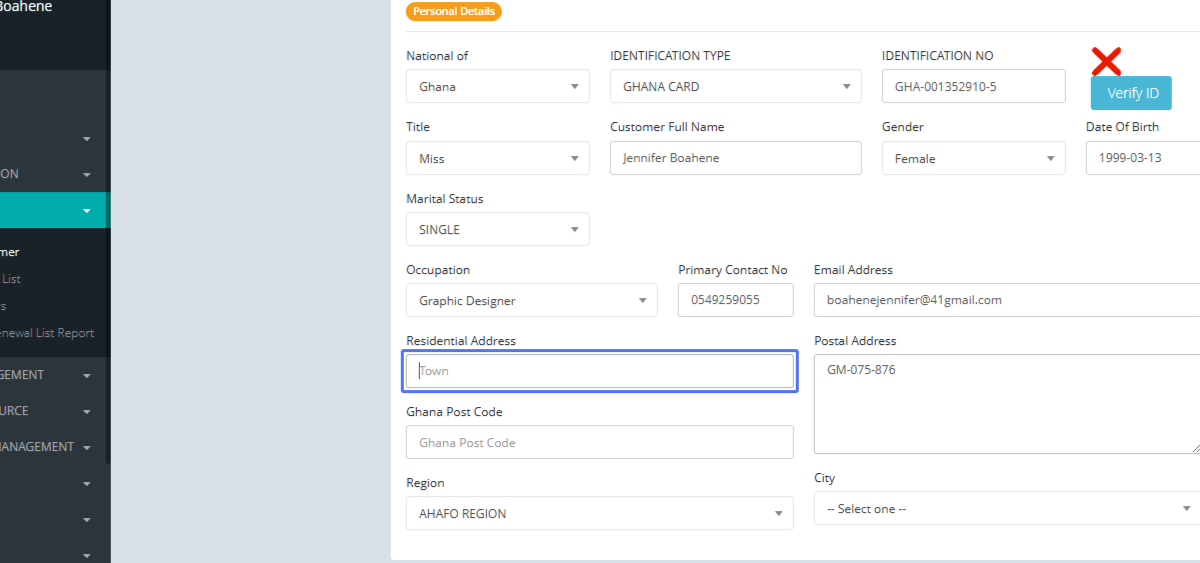
19
Entering Residential Address (Screenshot of the Residential Address input field)
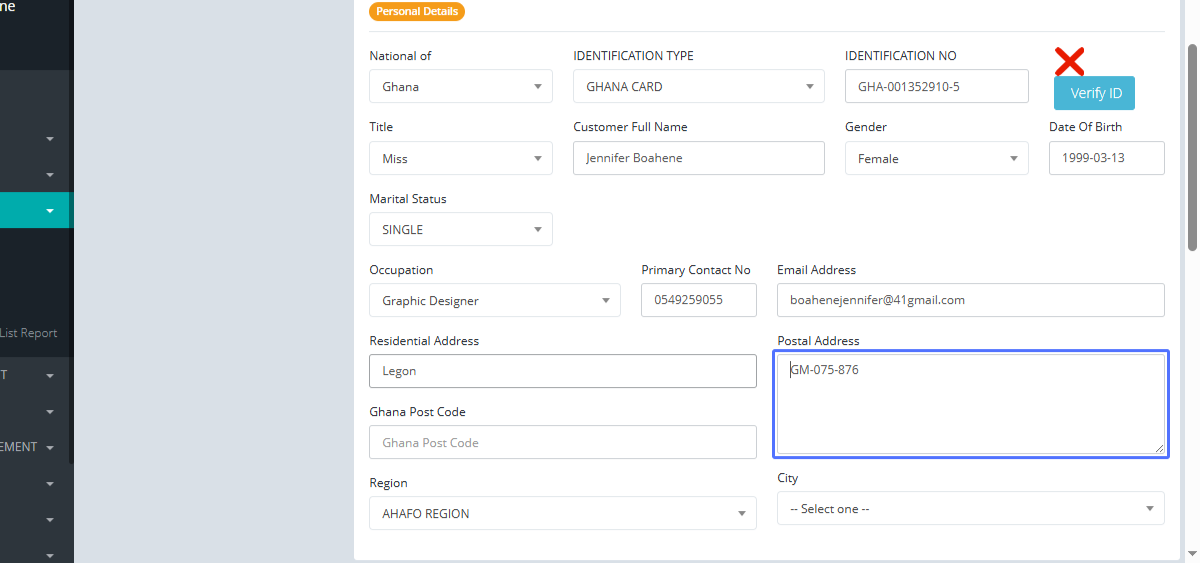
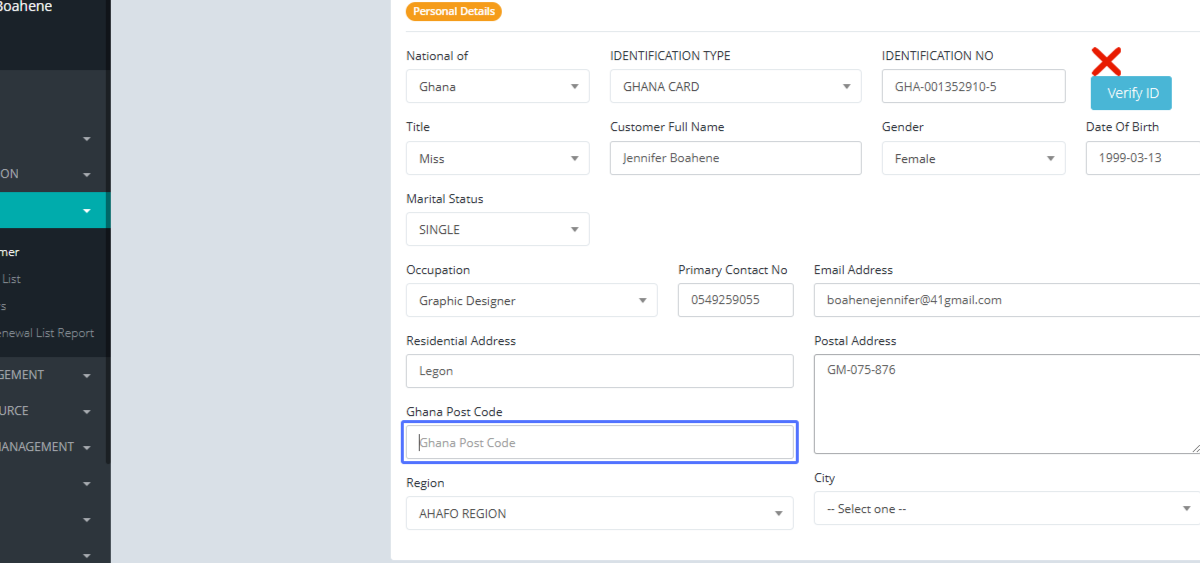
20
Entering Ghana Post Code (Screenshot of the Ghana Post Code input field)
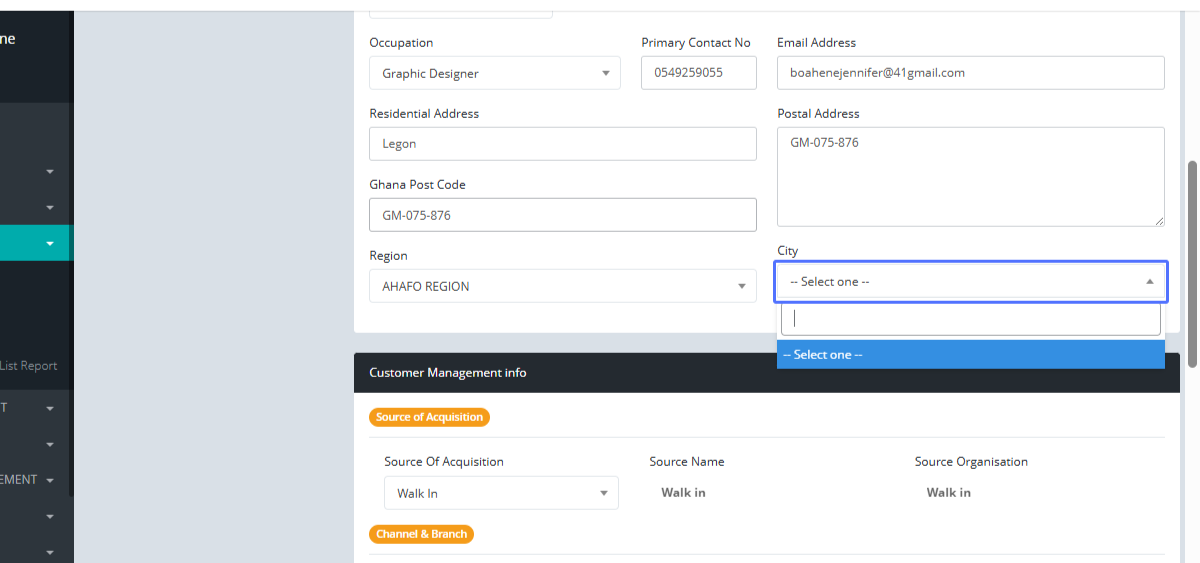
21
Selecting Branch City (Screenshot of the Branch City selection dropdown)
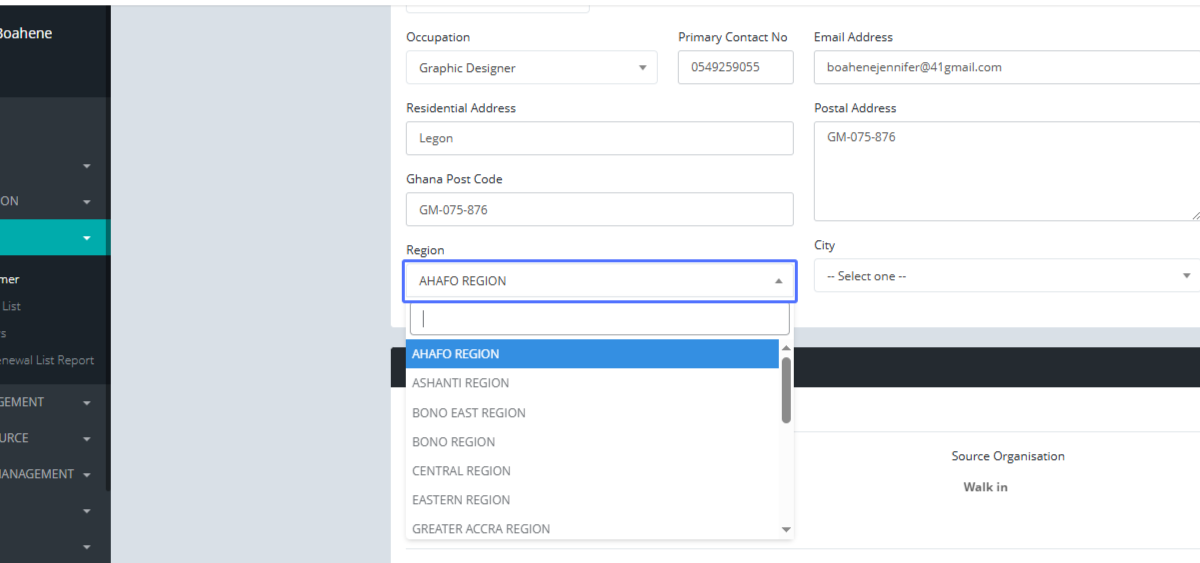
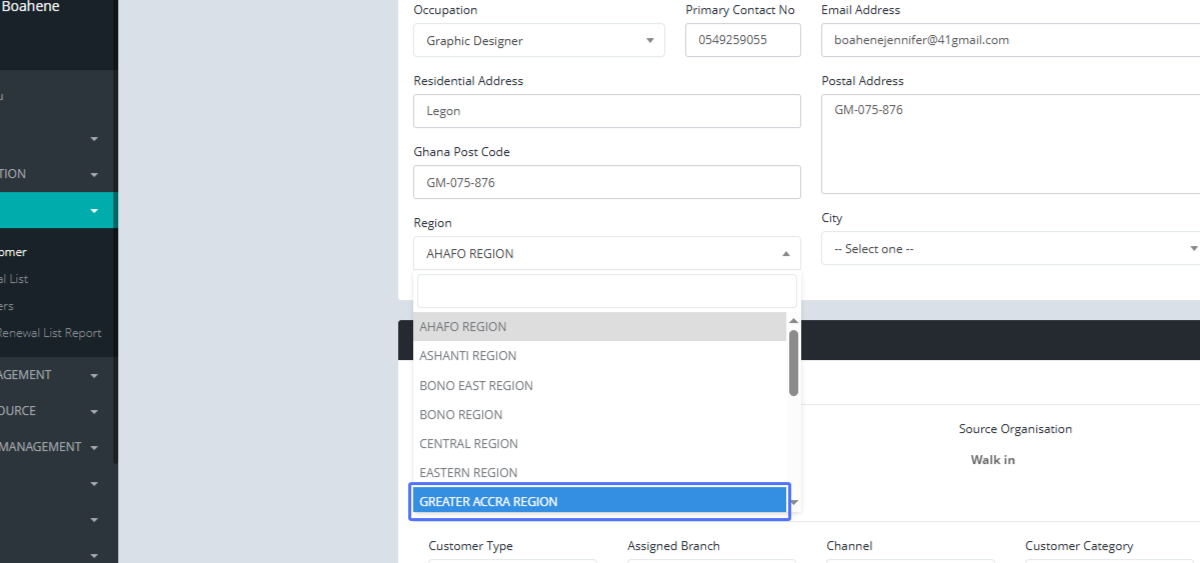
22
Selecting Region (Screenshot of the Region selection dropdown)
23
Selecting User Category (Screenshot of the User Category selection dropdown)
24
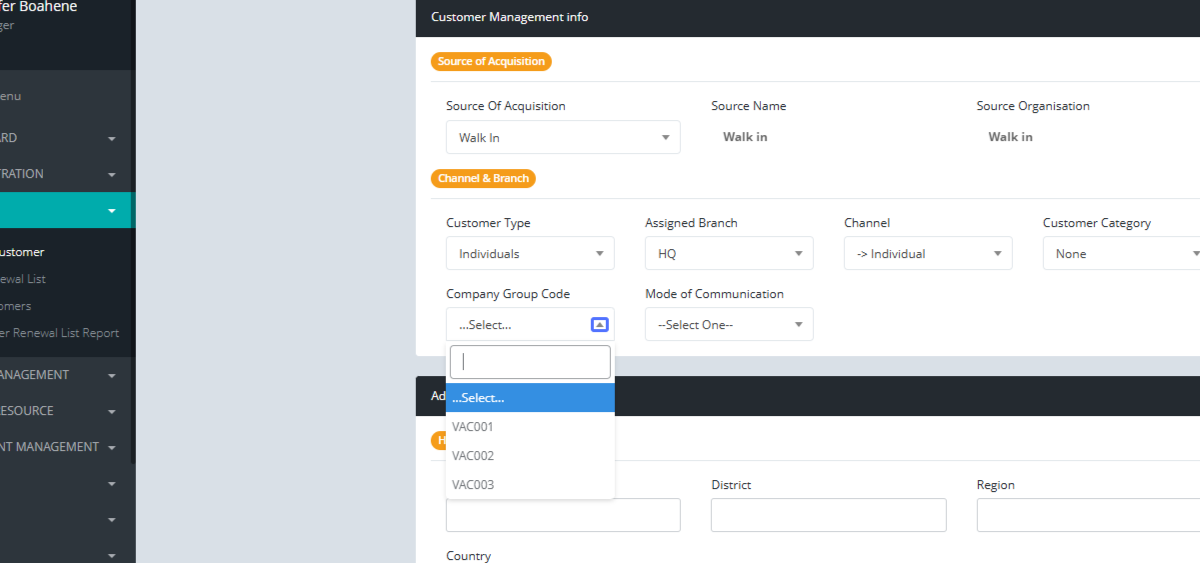
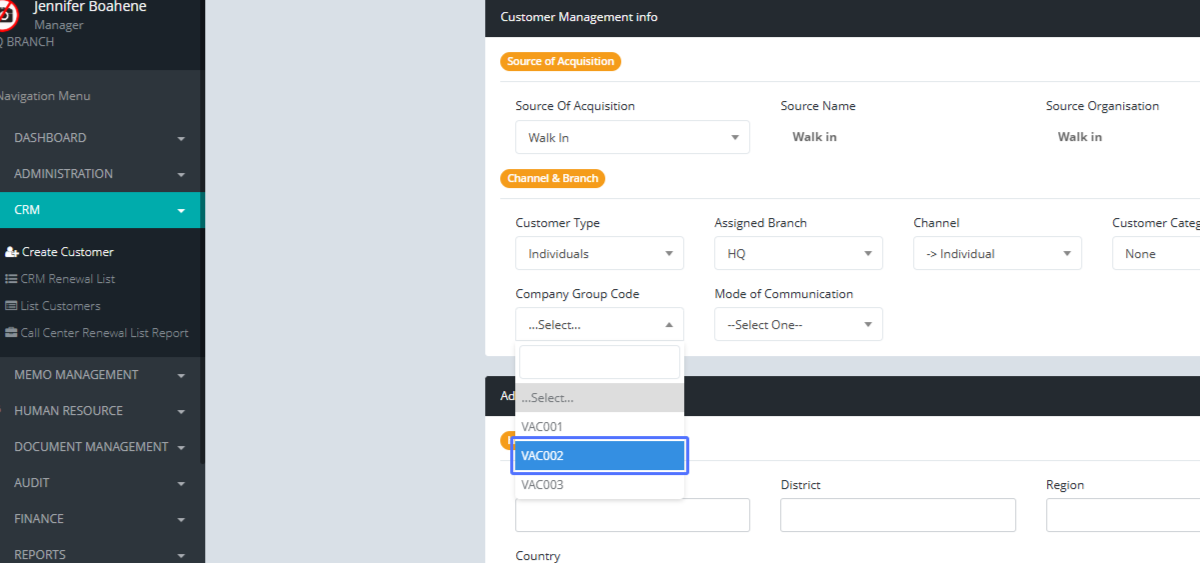
Selecting Group Code (Screenshot of the Group Code selection dropdown)
25
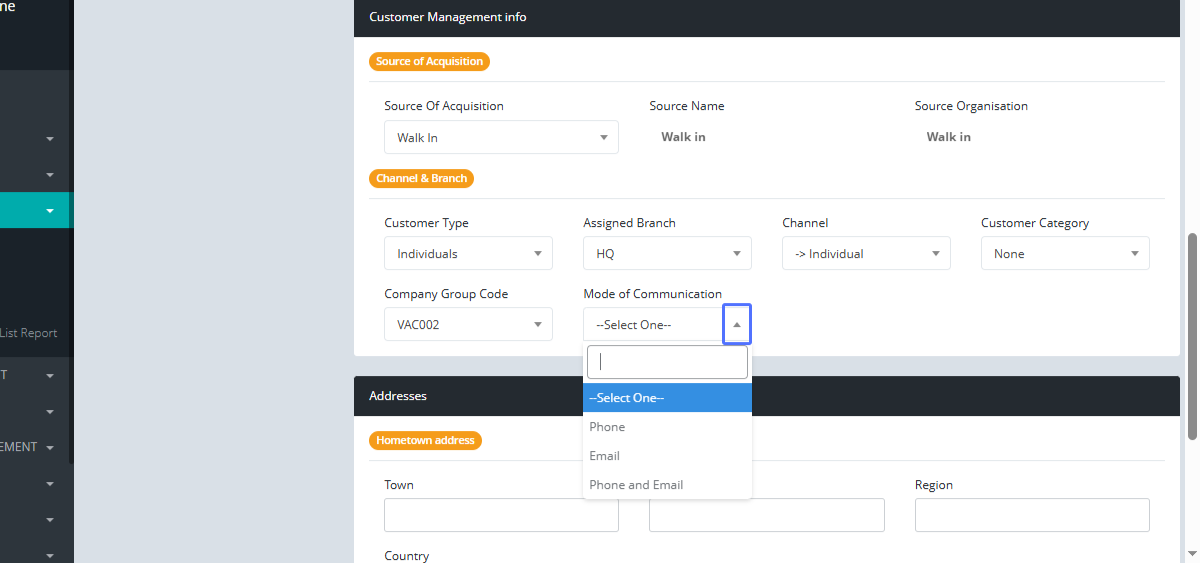
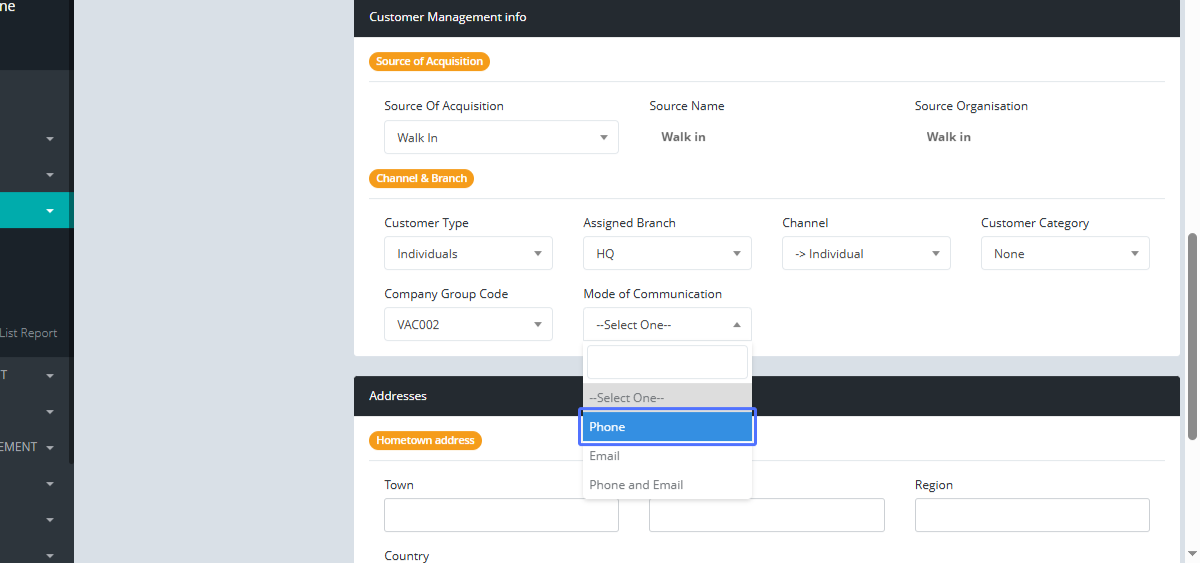
Selecting Mode of Communication (Screenshot of the Mode of Communication selection dropdown)
26
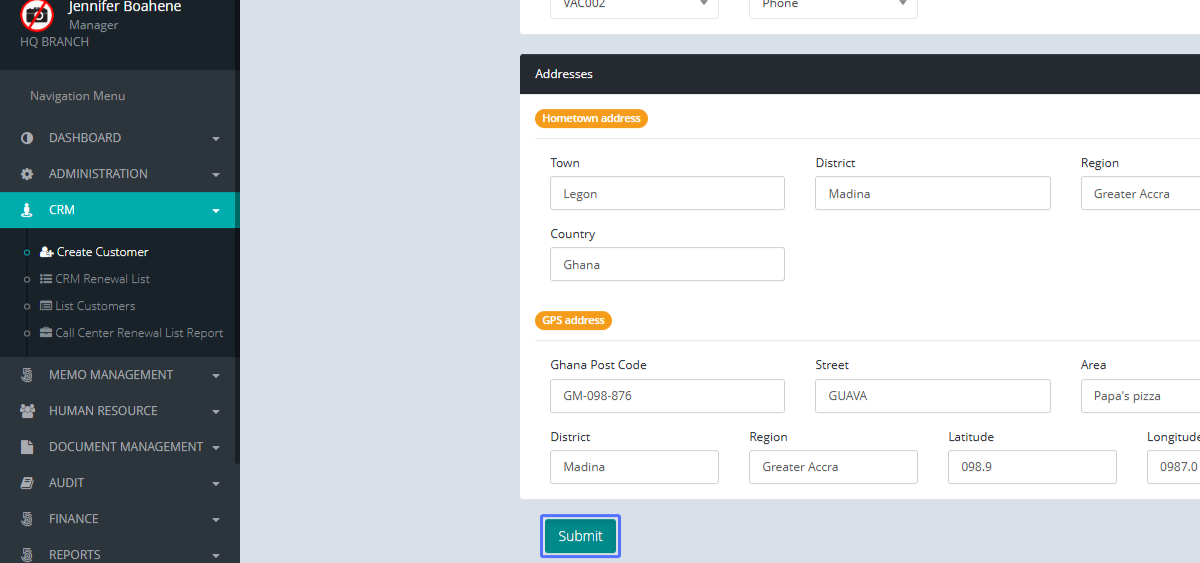
Entering Town (Screenshot of the Town input field)
27
Entering District (Screenshot of the District input field)
28
Entering Region (Screenshot of the Region input field)
29
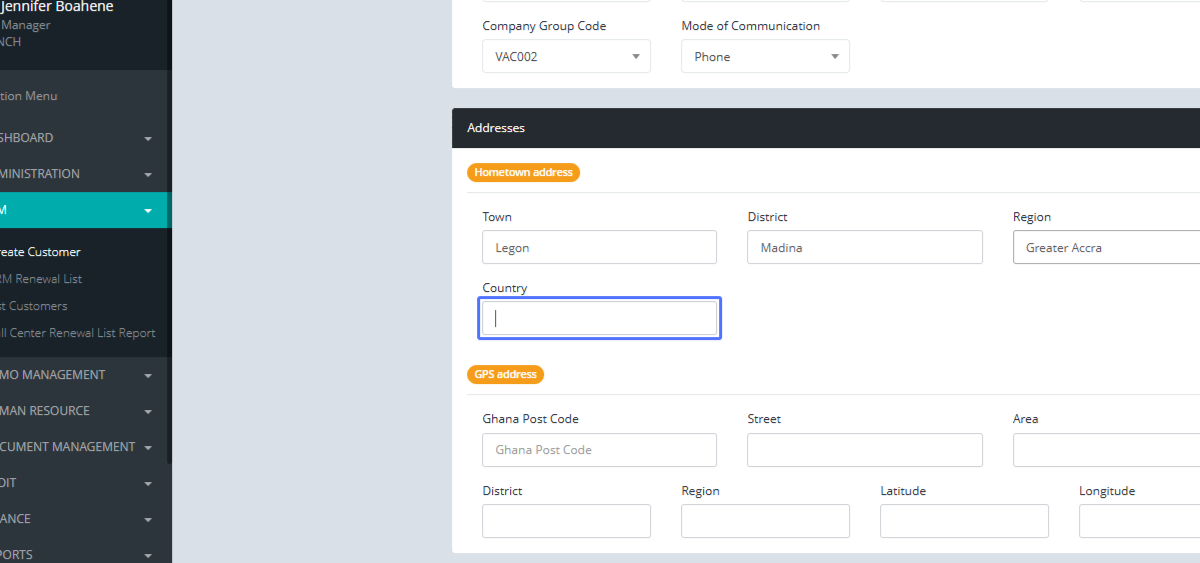
Entering Country (Screenshot of the Country input field)
30
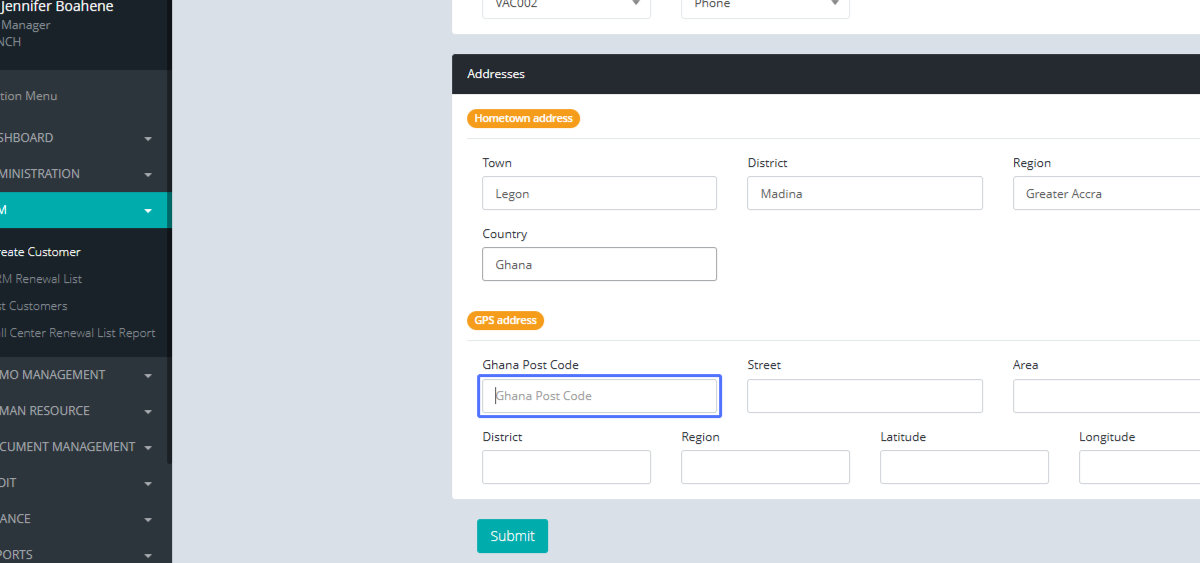
Entering Ghana Post Code (Screenshot of the Ghana Post Code input field)
31
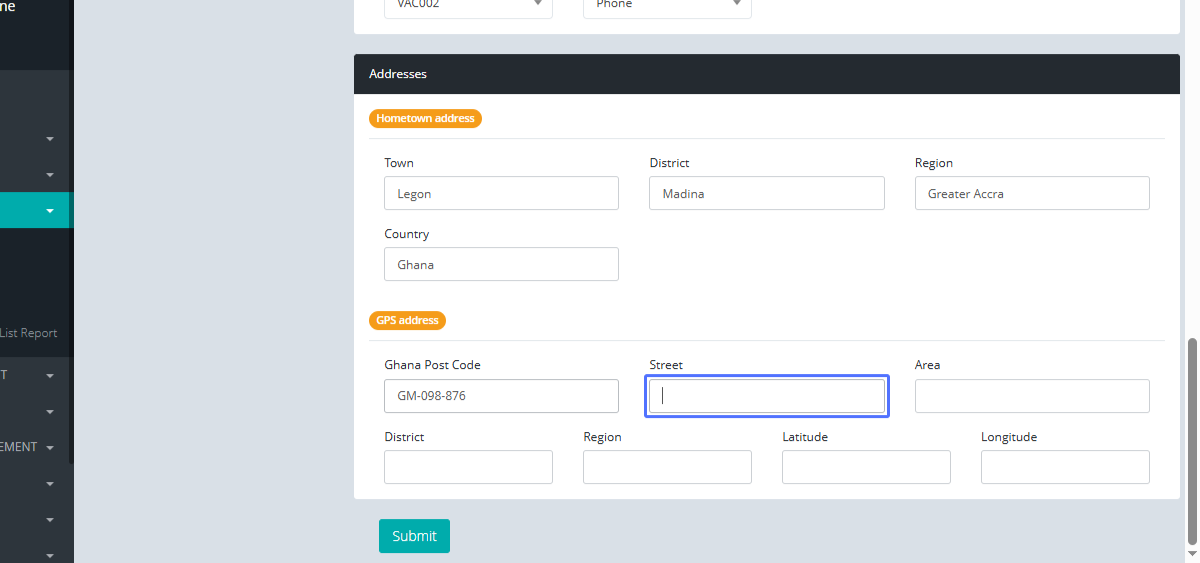
Entering Street (Screenshot of the Street input field)
32
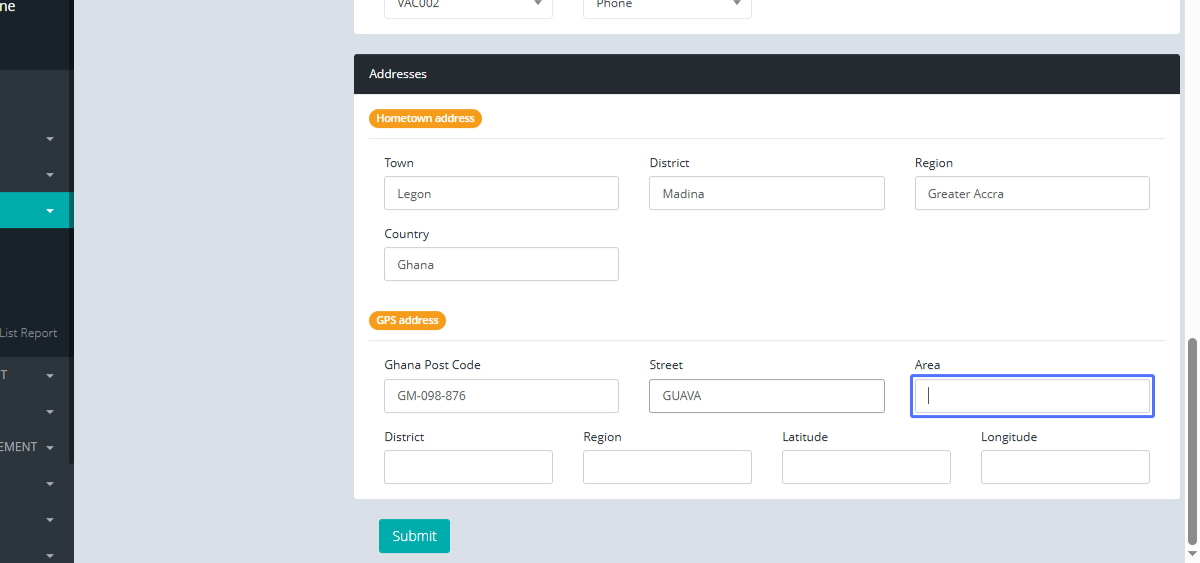
Entering Area (Screenshot of the Area input field)
33
Entering District (Screenshot of the District input field)
34
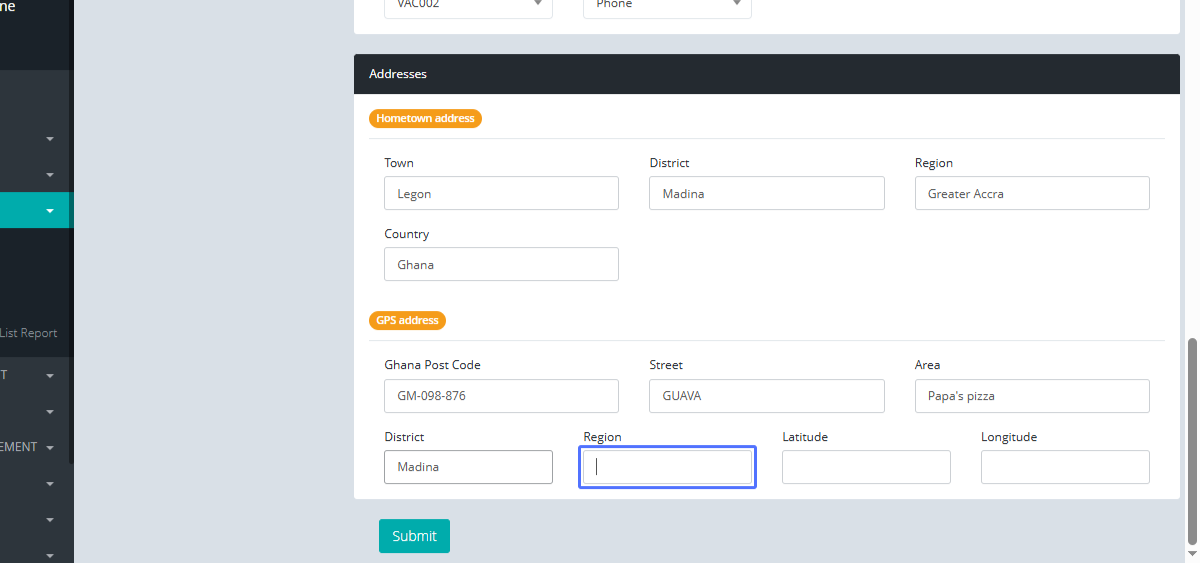
Entering Region (Screenshot of the Region input field)
35
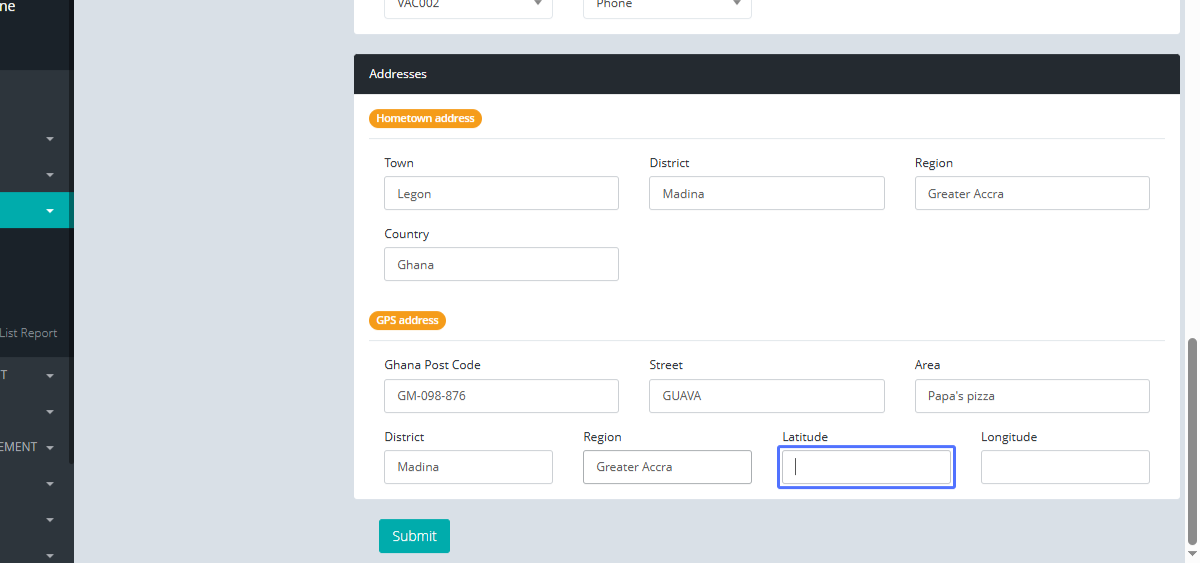
Entering Latitude (Screenshot of the Latitude input field)
36
Entering Longitude (Screenshot of the Longitude input field)
37
Submitting the New Customer Account (Screenshot of the "Submit" button)
38
Click on the input for Town (Screenshot of the Town input field with a cursor)
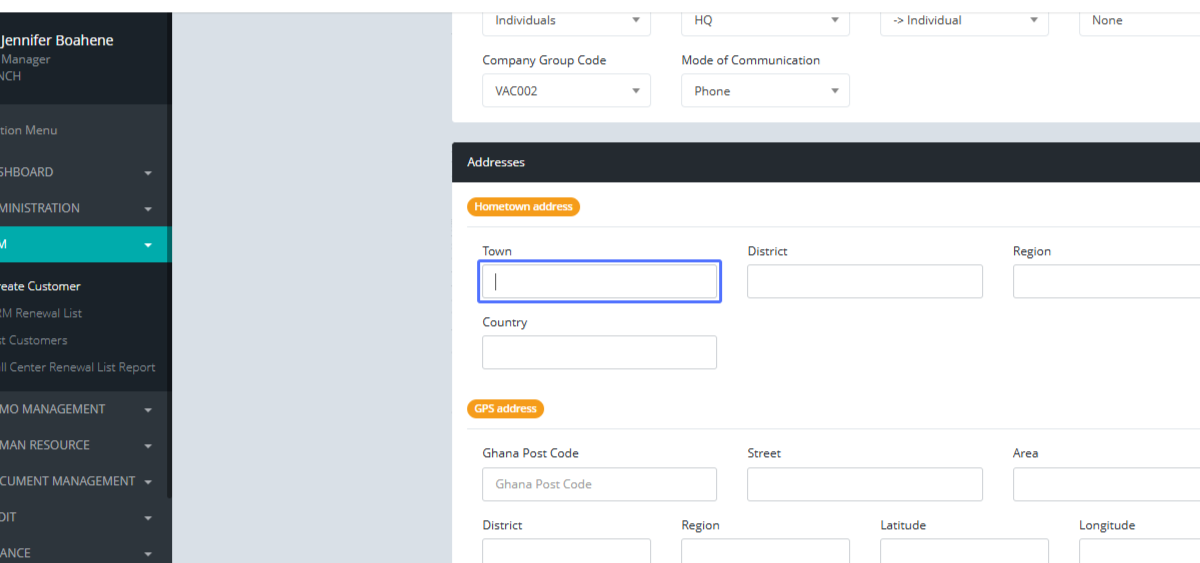
39
Click on the input for District (Screenshot of the District input field with a cursor)
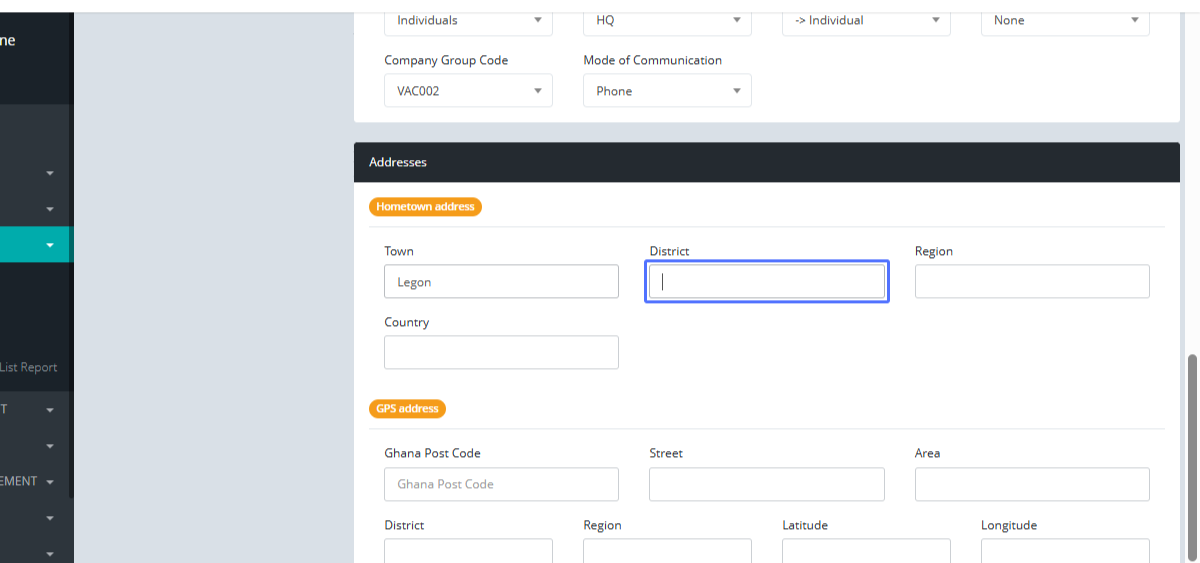
40
Click on the input for Region (Screenshot of the Region input field with a cursor)
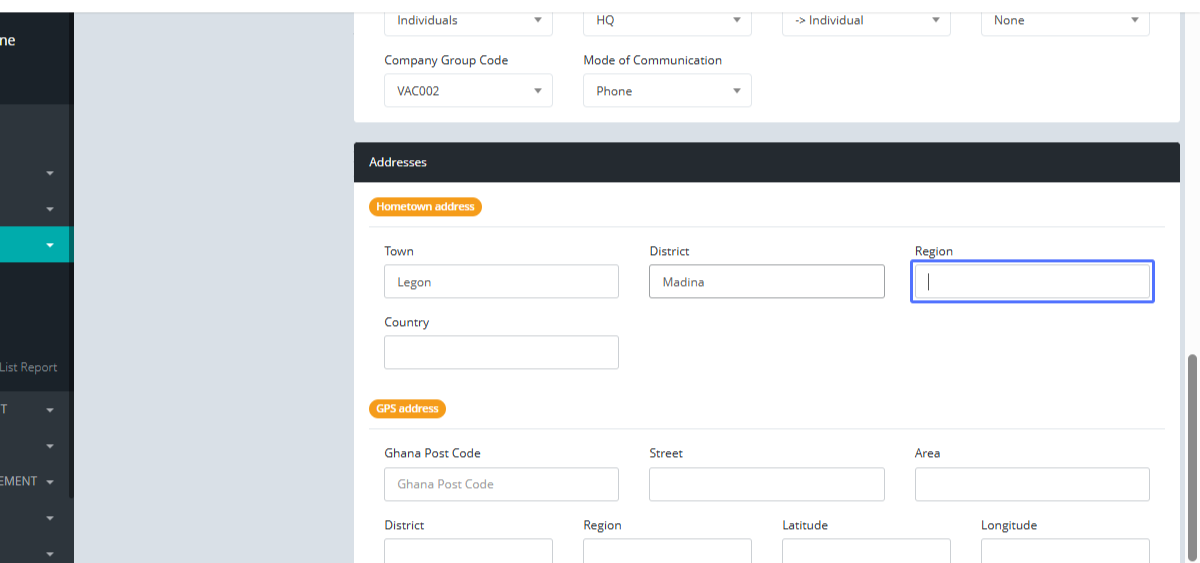
41
Click on the input for Country (Screenshot of the Country input field with a cursor)
42
Click on the input for Ghana Post Code (Screenshot of the Ghana Post Code input field with a cursor)
43
Click on the input for Street (Screenshot of the Street input field with a cursor)
44
Click on the input for Area (Screenshot of the Area input field with a cursor)
45
Click on the input for District (Screenshot of the District input field with a cursor)

46
Click on the input for Region (Screenshot of the Region input field with a cursor)
47
Click on the input for Latitude (Screenshot of the Latitude input field with a cursor)
48
Click on the input for Longitude (Screenshot of the Longitude input field with a cursor)

49
Click on the button "Submit" (Screenshot of the "Submit" button with a cursor)

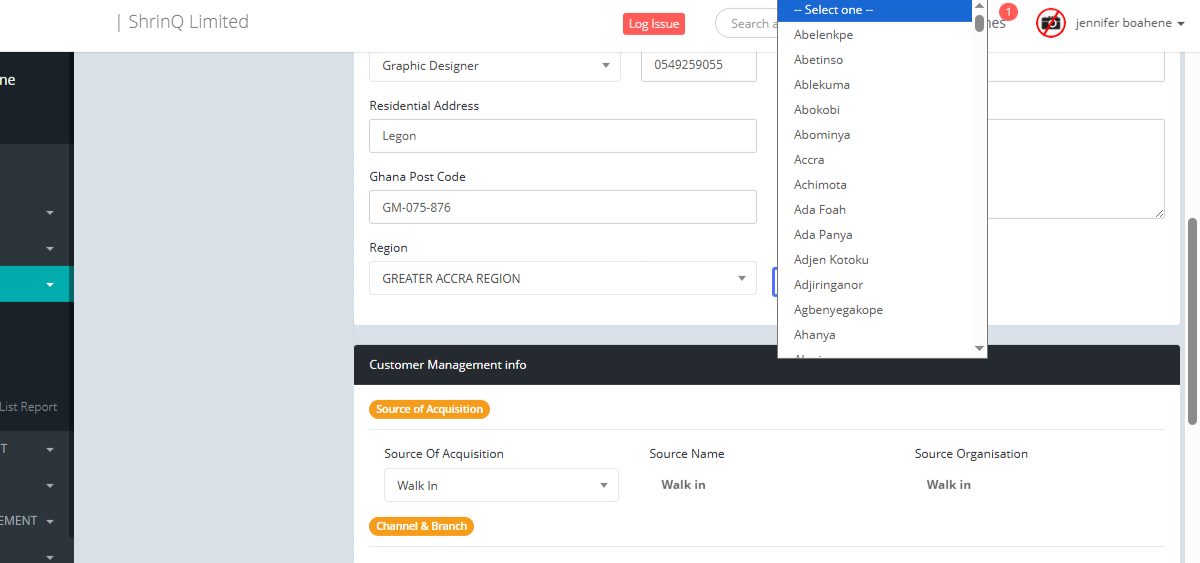
50
Click on "-- Select one -- Abelenkpe Abetinso Ablekuma Abokobi Abominya Accra Achimota Ada Foah Ada Panya Adje..." (Screenshot of the dropdown with the highlighted option)
51
Click on the button "Submit" (Screenshot of the "Submit" button with a cursor)